

Construction machinery is the backbone of any construction project, and its proper functioning is essential to ensure efficiency and safety. However, like any mechanical system, it is prone to wear and tear, and components such as the shutoff solenoid may eventually fail. A shutoff solenoid is an electromagnetic device used to control the flow of hydraulic fluid or other media in construction equipment. When it malfunctions, it can disrupt operations and lead to costly downtime. In this blog post, we will guide you through the process of replacing a damaged shutoff solenoid in construction machinery, ensuring that your equipment runs smoothly again.
Understanding the Shutoff Solenoid
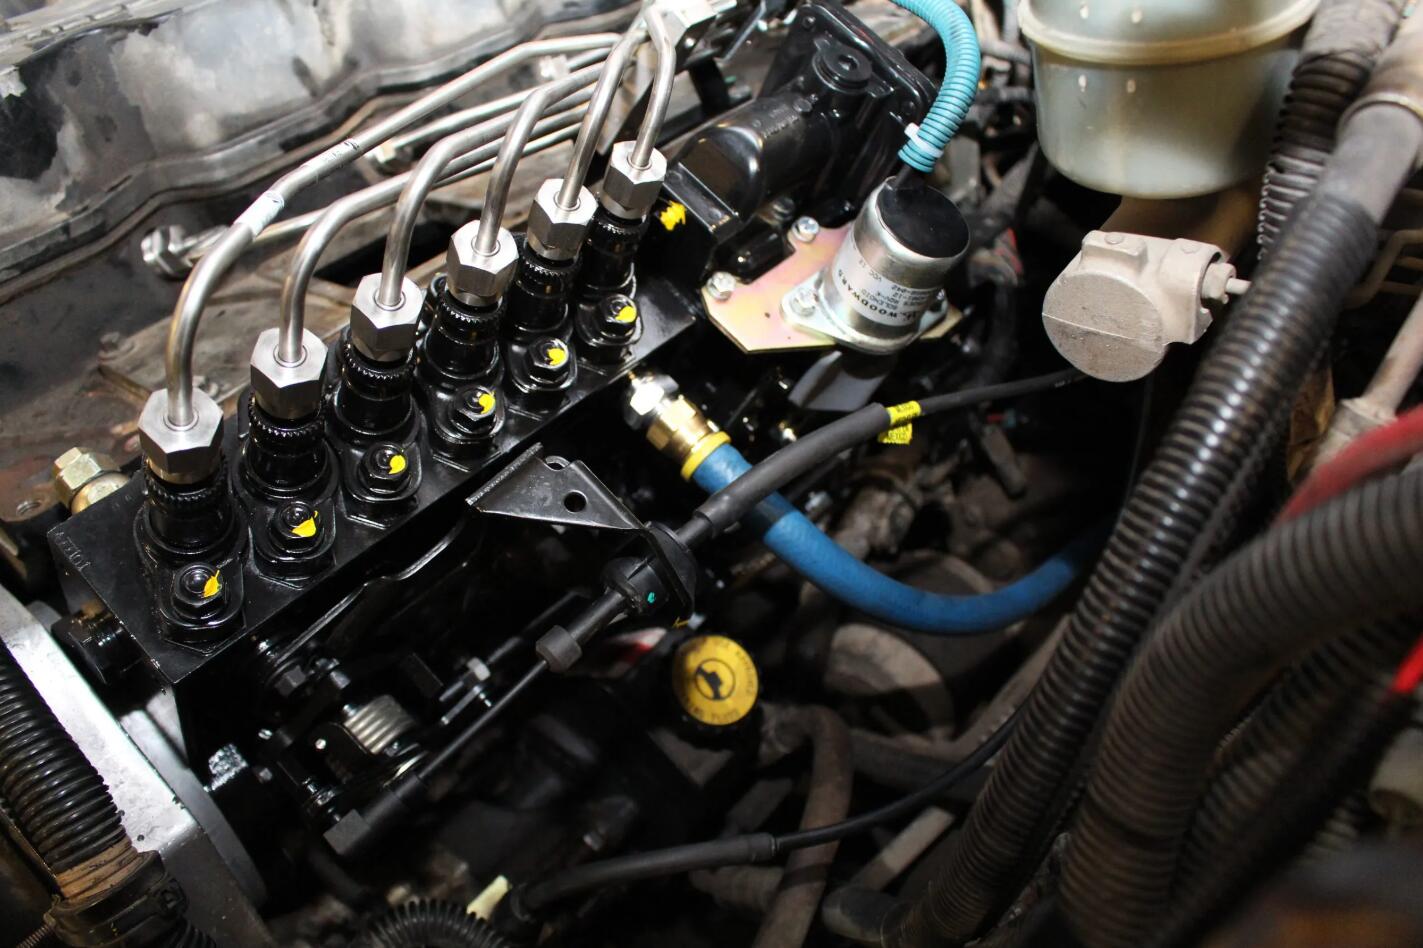
Before diving into the replacement process, it’s important to understand the role of the shutoff solenoid in construction machinery. This component is typically part of a hydraulic system and is responsible for opening and closing valves or controlling the flow of fluid based on electrical signals. If the solenoid becomes damaged due to wear, corrosion, or electrical issues, it can fail to operate properly, leading to leaks, pressure loss, or complete system shutdown.Replacing a shutoff solenoid requires a basic understanding of the machinery’s hydraulic system and the ability to follow safety protocols and technical instructions carefully.
Step-by-Step Guide to Replacing a Shutoff Solenoid
1. Safety First
Before working on any construction machinery, prioritize safety. Follow these steps:
Turn off the machinery: Ensure the equipment is powered down and the hydraulic system is depressurized.
Use lockout/tagout procedures: Secure the machinery to prevent accidental activation while you’re working on it.
Wear protective gear: Safety glasses, gloves, and a workshop coat are essential to protect yourself from hydraulic fluid, debris, or electrical hazards.
2. Locate the Shutoff Solenoid
The shutoff solenoid is usually part of the hydraulic control system. Refer to the equipment’s manual or schematics to locate its exact position. Solenoids are often found near the hydraulic pump or in control (valve assemblies). If you’re unsure, consult a professional or contact the manufacturer for guidance.

3. Drain the Hydraulic System
To replace the solenoid safely, you need to drain the hydraulic system:
Use the appropriate drain valve or port to release the fluid.
Collect the hydraulic fluid in a container to prevent environmental contamination.
Allow the system to fully depressurize before proceeding.
4. Disconnect the Solenoid
Once the system is depressurized, disconnect the solenoid:
Remove any electrical connections, such as wires or connectors, to isolate the solenoid.
Take note of the wiring configuration to ensure proper reconnection later.
Use a wrench or specialized tool to disconnect the solenoid from the hydraulic lines or valve assembly.
5. Remove the Damaged Solenoid
Carefully remove the damaged shutoff solenoid:
Inspect the area around the solenoid for any signs of leaks or wear.
If the solenoid is stuck, use penetrating oil to loosen it.
Remove the solenoid by unscrewing or prying it free, depending on its mounting method.
6. Inspect and Clean the Area
Before installing the new solenoid, inspect the area where the old one was mounted:
Check for any debris, rust, or damage to the surrounding components.
Clean the area thoroughly to ensure a proper seal and connection for the new solenoid.
7. Install the New Shutoff Solenoid
Now, it’s time to install the replacement solenoid:
Ensure the new solenoid is compatible with your machinery’s specifications (refer to the manual or manufacturer’s guidelines).
Mount the solenoid securely using the appropriate fasteners.
Reconnect the hydraulic lines or valve assembly, making sure the connections are tight and leak-free.
Reattach the electrical wiring, double-checking the configuration to avoid errors.

8. Test the Hydraulic System
After installation, test the hydraulic system to ensure the new solenoid is functioning correctly:
Refill the hydraulic system with the recommended fluid.
Turn on the machinery and monitor the solenoid’s operation.
Check for leaks or unusual behavior. If issues arise, shut down the system immediately and re-inspect the connections.
9. Perform a Full System Check
Once the solenoid is operational, perform a full system check:
Run the machinery through its normal operating cycle to ensure all hydraulic functions are working as expected.
Verify that the shutoff solenoid responds correctly to electrical signals and controls the fluid flow properly.
10. Maintain and Monitor
Regular maintenance is key to preventing future failures. Inspect the solenoid and hydraulic system periodically for signs of wear or damage. If you notice any issues, address them promptly to avoid costly downtime.
Troubleshooting Tips
Before replacing the shutoff solenoid, consider these troubleshooting steps to identify the root cause of the problem:
Check the electrical supply: Ensure the solenoid is receiving the correct voltage and that there are no loose or damaged wires.
Inspect for leaks: Look for hydraulic fluid leaks around the solenoid or its connections.
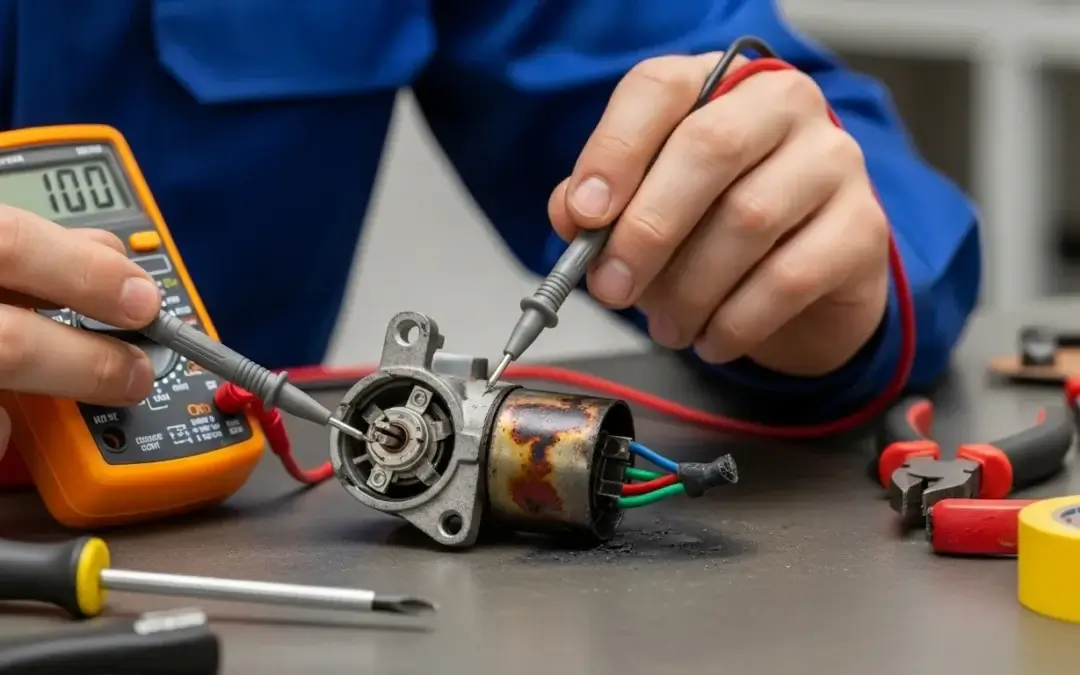
Test the solenoid: Use a multimeter to check for continuity and ensure the solenoid is not shorted or open.
Choosing the Right Replacement Solenoid
When selecting a replacement shutoff solenoid, make sure it matches the original equipment’s specifications:
Voltage and current ratings: The solenoid must operate within the machinery’s electrical system parameters.
Size and mounting: The new solenoid should fit seamlessly into the existing setup.
Compatibility with hydraulic fluid: Some solenoids are designed for specific types of hydraulic fluids, so double-check this before purchase.
Conclusion
Replacing a damaged shutoff solenoid in construction machinery is a task that requires precision and attention to detail. By following these steps and prioritizing safety, you can restore the functionality of your equipment and minimize downtime. Remember, regular maintenance and timely repairs are essential to keep your construction machinery in optimal condition. If you’re unsure about any part of the process, consult a qualified technician or refer to the equipment’s manual for further guidance.Stay proactive in your equipment maintenance, and keep your construction projects on track!